Ever dreamed of snipping fresh basil for your pasta straight from a plant in your kitchen? Or maybe adding crisp, homegrown lettuce to your salad, even if you live in a small apartment with no backyard? It might sound like a far-off dream, but it’s more accessible than you think. The secret lies in a method of gardening that doesn’t require a single patch of soil.
We’re talking about hydroponics, a modern approach to growing plants that is perfect for beginners, city dwellers, and anyone looking to have a little more control over their food source. Let’s dive into how you can build your very own simple system from scratch.
What Exactly Is Hydroponics?
Before we start building, let’s quickly clear up what this term means. Simply put, hydroponics is the art of growing plants without soil. Instead of pulling nutrients from the dirt, the plant’s roots are suspended directly in a nutrient-rich water solution. This method gives you complete control over what your plants “eat,” often resulting in faster growth and higher yields, an approach often featured in Hydroponics360 guides.
Gathering Your Materials: The Beginner’s Shopping List
The beauty of a DIY hydroponic setup is its simplicity. You don’t need a high-tech laboratory or a massive budget. Most of what you need can be found at a local hardware or garden store, and some items might already be in your home.
Here’s a basic list for a simple Deep Water Culture (DWC) system, which is one of the easiest for beginners:
- A Reservoir: An opaque plastic storage container with a lid is perfect. A 5-gallon bucket also works well. The key is that it must block light to prevent algae growth.
- Net Pots: These small, basket-like pots will hold your plants and allow their roots to reach the water. You’ll need one for each plant you plan to grow.
- Growing Medium: Instead of soil, you’ll use an inert medium to support the plant in the net pot. Clay pebbles (hydroton) or perlite are excellent, reusable choices.
- Aquarium Air Pump and Air Stone: This is the heart of your system. The pump pushes air through a tube to the air stone, which sits in the water and creates bubbles. This oxygenates the water, preventing the roots from drowning.
- Hydroponic Nutrients: This is the plant food. You can buy a pre-mixed liquid or powdered formula specifically designed for hydroponics. Follow the package directions carefully.
Step-by-Step: Assembling Your First Hydroponic System
With all your components ready, it’s time for the fun part. This assembly should take less than an hour. Let’s build this thing.
1. Prepare the Reservoir
Start by cleaning your container and lid thoroughly. Using a drill or a hole saw, carefully cut holes in the lid for your net pots. The holes should be slightly smaller than the lip of the net pot so it can sit securely without falling through.
2. Set Up the Aeration
Place the airstone at the bottom of the reservoir. Run the airline tubing from the stone up and out of the container. You can drill a small hole for the tubing or simply run it out from under the lid. Connect the other end of the tubing to your air pump.
3. Mix the Nutrient Solution:
Fill your reservoir with water, leaving an inch or two of space at the top. Add your hydroponic nutrients according to the instructions on the bottle. Stir well to ensure everything is dissolved.
4. Add Your Plants:
Gently rinse the soil from the roots of your chosen seedlings. Place a plant in each net pot and fill the surrounding space with your growing medium (clay pebbles or perlite) to hold it in place.
5. Put It All Together:
Place the lid with the net pots onto the reservoir, ensuring the plant roots are submerged in the nutrient solution. Plug in your air pump, and you’re done! You’ve officially built a hydroponic system.
Choosing the Right Plants and Providing Care
Your system is built, but what should you grow in it? Not all plants are created equal for a beginner setup. For your first run, stick to leafy greens and herbs, as they are fast-growing and very forgiving. Good choices include lettuce, spinach, basil, mint, and parsley. With recent studies showing that households are now growing food at home, many people are exploring innovative home gardening techniques to maximize their space and yield.
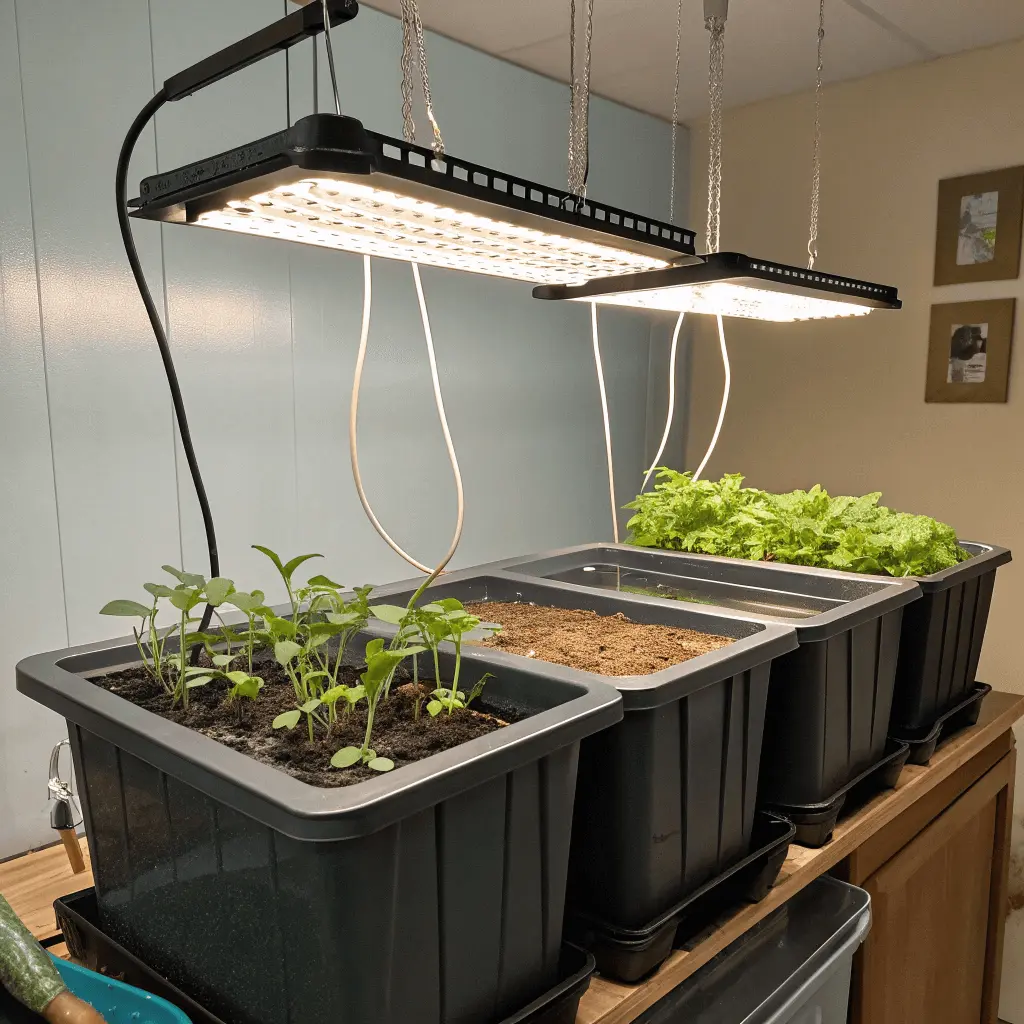
Once you’re set up, place your system in a spot that gets at least six hours of sunlight per day, or supplement with a simple grow light. Check the water level every few days and top it off with plain, pH-balanced water as needed. You’ll need to completely change out the nutrient solution every two to three weeks to keep your plants happy and healthy.
FAQs
How often do I need to change the nutrient solution?
For a small beginner system, a full water and nutrient change every 14 to 21 days is a good rule of thumb. This prevents the buildup of salts and ensures your plants have a fresh supply of all the minerals they need to thrive.
Do I absolutely need a grow light?
If you have a windowsill that receives more than six hours of direct, bright sunlight per day, you might be able to grow leafy greens and herbs without one. However, for more consistent and robust growth, a simple LED grow light is a highly recommended and affordable investment.
What are the first signs of a problem with my plants?
The most common signs are yellowing leaves, which can indicate a nutrient deficiency, or wilting, which could mean the roots aren’t getting enough oxygen or there’s a problem with the nutrient solution.
Is it expensive to run an air pump all the time?
Not at all. The small aquarium air pumps used for these DIY systems are incredibly energy efficient. They typically use only 2-4 watts of power, meaning the cost to run one 24/7 for an entire month is usually less than a dollar.